How to Take Cuttings from Hanging Plants is a rewarding skill for any plant enthusiast. These cascading beauties, with their trailing stems and vibrant foliage, can be easily propagated through cuttings, allowing you to expand your collection or share your passion with others.
From selecting the right plant to maintaining the rooting environment, this comprehensive guide will walk you through the process, ensuring success for your new plant babies.
The beauty of taking cuttings lies in its simplicity and accessibility. You don’t need specialized equipment or a greenhouse to create new plants. With a few basic tools, a little patience, and a dash of green thumb magic, you can bring life to new hanging plants, filling your home or garden with lush greenery.
Identifying Suitable Hanging Plants for Cuttings

Propagating hanging plants from cuttings is a rewarding and cost-effective way to expand your collection. However, not all hanging plants are equally suited for this method. Understanding the characteristics of ideal candidates is crucial for successful propagation.
Characteristics of Ideal Hanging Plants for Cuttings
Ideal hanging plants for cuttings exhibit specific traits that contribute to their ease of propagation. These include:
- Rapid Growth Rate:Plants with a fast growth rate tend to produce roots more quickly from cuttings.
- Easy Rooting:Some plants naturally root easily, making them excellent choices for propagation through cuttings. This can be influenced by factors like node structure and hormone production.
- Leaf Structure:Plants with thicker, fleshy leaves, or those with a tendency to develop adventitious roots on leaves, often root more readily.
- Stem Strength:Strong stems that can support the weight of the foliage and cuttings are essential for successful propagation.
List of Hanging Plants Suitable for Cuttings
Several hanging plants are known for their ease of propagation through cuttings. Here are some popular examples:
- Pothos (Epipremnum aureum): This popular houseplant is incredibly easy to root from cuttings. It thrives in various conditions and can tolerate some neglect.
- Spider Plant (Chlorophytum comosum): Spider plants are known for their prolific production of plantlets, which can easily be rooted in water or soil. They are a great choice for beginners.
- String of Pearls (Senecio rowleyanus): This succulent with its charming pearl-like leaves is easily propagated from stem cuttings. It prefers well-draining soil and bright indirect light.
- String of Hearts (Ceropegia woodii): This trailing succulent with heart-shaped leaves is another popular choice for propagation through cuttings. It requires well-draining soil and bright, indirect light.
- Trailing Jade (Crassula sarmentosa): This succulent with its fleshy, trailing stems is easy to root from cuttings. It prefers bright, indirect light and well-draining soil.
Selecting the Right Cuttings

The success of your propagation efforts depends heavily on choosing the right cuttings. Understanding the optimal time for taking cuttings and identifying the characteristics of a healthy cutting are crucial steps in ensuring successful rooting.
Choosing the Right Time of Year
The best time to take cuttings from hanging plants is during their active growth period, typically in spring or summer. This is when the plants are actively producing new growth, making them more likely to root successfully.
- Spring:This is generally considered the ideal time for taking cuttings from most hanging plants. The weather is warming up, and the plants are beginning to grow vigorously. This means they have ample energy for root development.
- Summer:During the summer months, the plants are in full growth mode, making them ideal for taking cuttings. However, it is important to avoid taking cuttings during periods of extreme heat or drought, as this can stress the plants and hinder rooting.
- Autumn:In some cases, you can take cuttings in early autumn, but the success rate may be lower than in spring or summer. The plants are starting to slow down their growth and may not have enough energy to root successfully.
- Winter:Avoid taking cuttings during the winter months, as the plants are dormant and have minimal energy for root development.
Characteristics of a Healthy Cutting
The ideal cutting should be about 4-6 inches long and include at least two nodes, which are the points where leaves grow from the stem. The nodes contain the plant’s growth hormones, which are essential for root development.
- Length:The length of the cutting should be sufficient to provide enough nodes for root development, while also being manageable to handle.
- Node Placement:The cutting should have at least two nodes, preferably with healthy, mature leaves. The nodes contain the plant’s growth hormones, which are essential for root development.
- Health:The cutting should be free from pests, diseases, and damage. A healthy cutting will have firm, green stems and leaves that are free from blemishes or discoloration.
Selecting Healthy Cuttings from a Parent Plant
When selecting cuttings from a parent plant, it is important to minimize damage to the parent plant.
- Choose a healthy parent plant:The parent plant should be vigorous and free from pests and diseases. A healthy parent plant will produce cuttings that are more likely to root successfully.
- Select a stem with new growth:Choose a stem that has new growth, as these stems are typically more vigorous and easier to root.
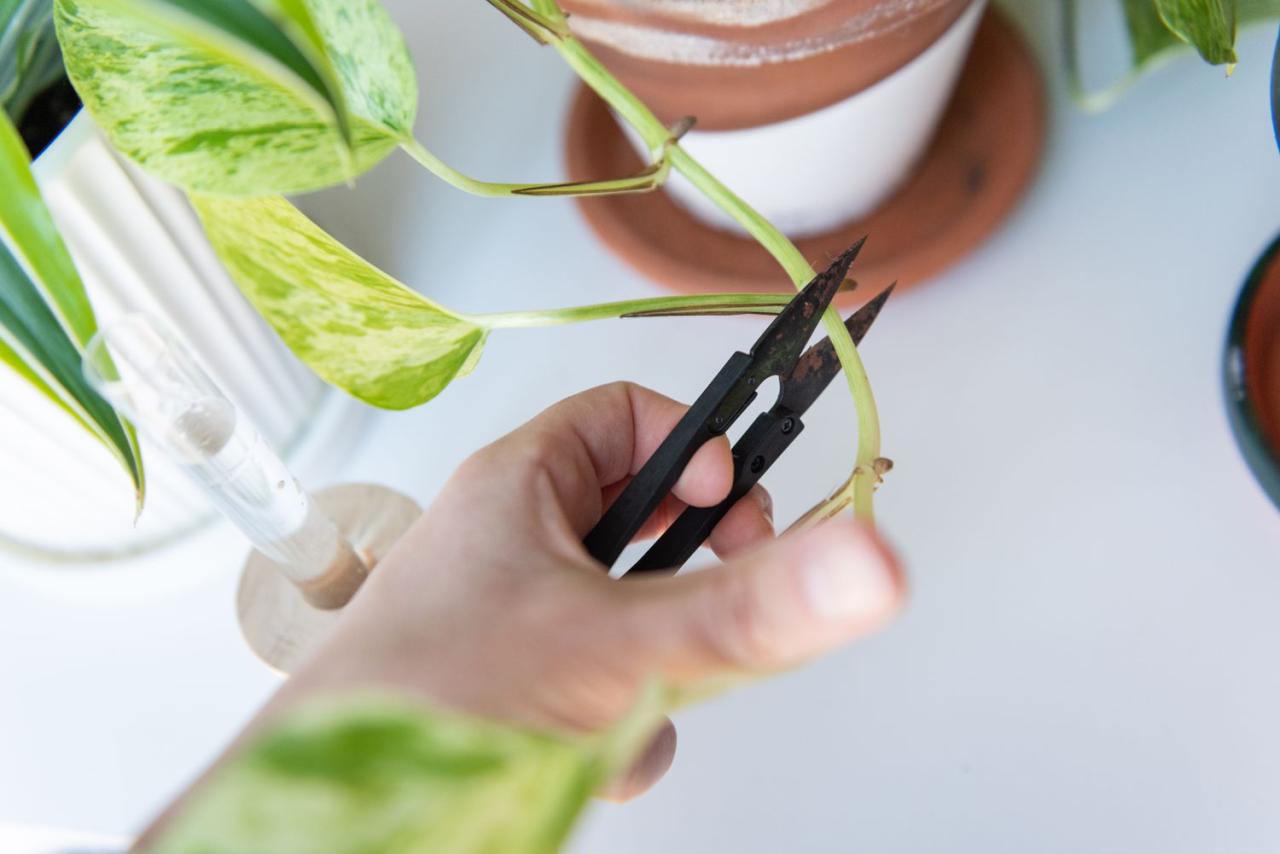
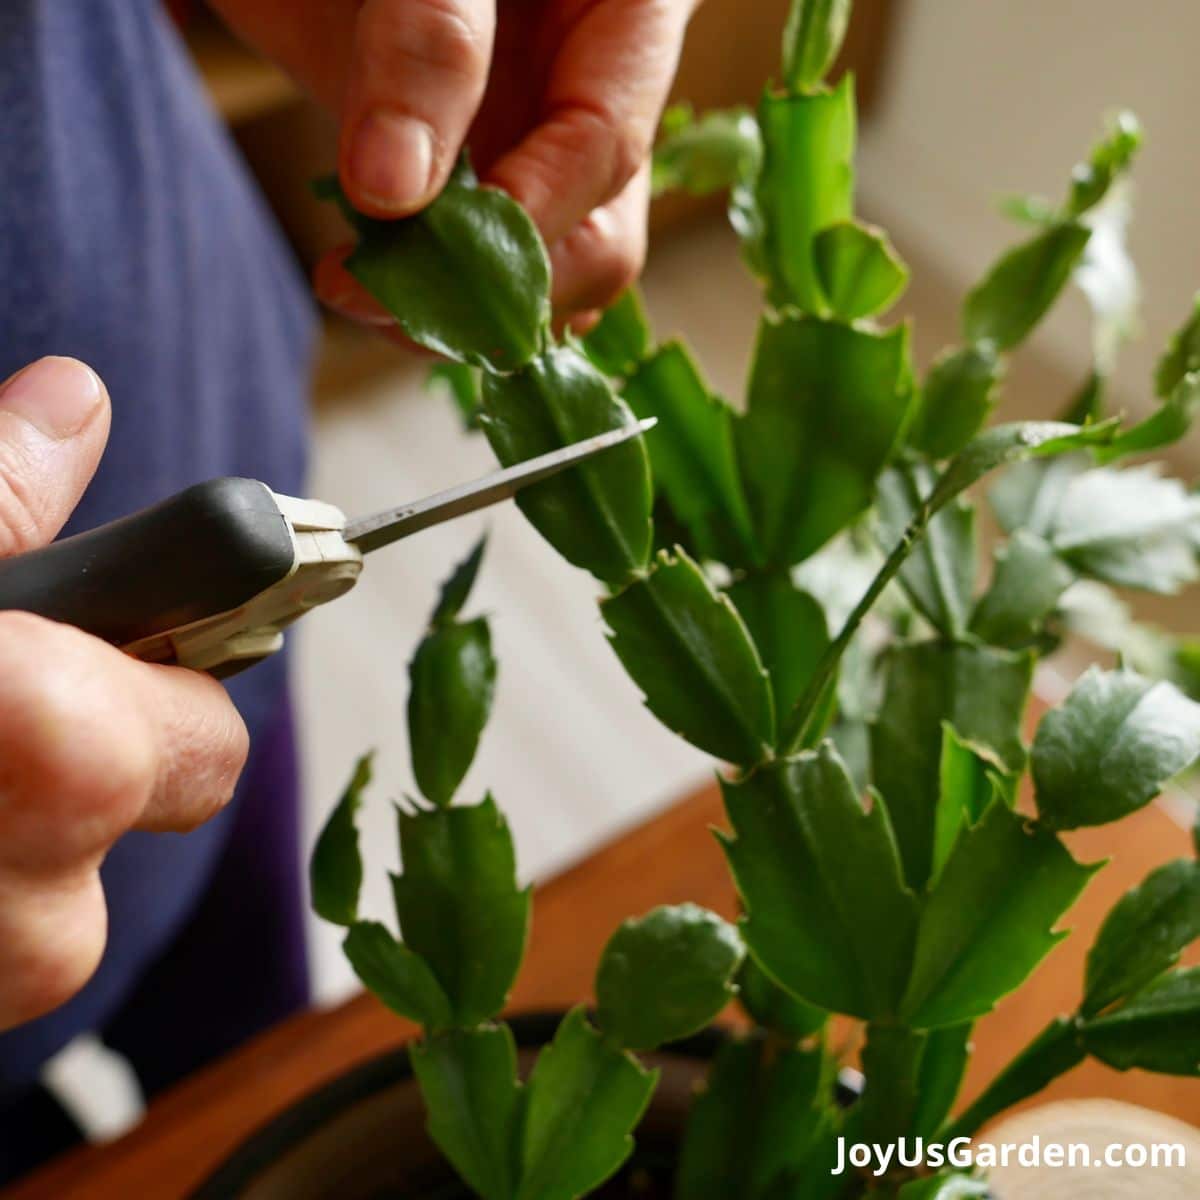
- Make a clean cut:Use a sharp knife or pruning shears to make a clean cut just below a node. This will help to prevent the cutting from rotting.
- Remove the lower leaves:Remove the leaves from the bottom 1-2 inches of the cutting. This will help to prevent the leaves from rotting and will allow the cutting to focus its energy on root development.
- Dip the cutting in rooting hormone:Rooting hormone is a powder or liquid that encourages root development. Dip the cut end of the cutting in rooting hormone before placing it in the rooting medium.
- Place the cutting in a rooting medium:Use a rooting medium that is well-draining and provides good aeration. Some common rooting mediums include vermiculite, perlite, and peat moss.
Preparing the Cuttings for Rooting
Preparing cuttings for rooting is crucial for their successful establishment. It involves specific steps that optimize their chances of developing a healthy root system.
Removing Lower Leaves
Removing the lower leaves from the cutting is essential to prevent them from rotting in the rooting medium. These leaves are often submerged in the medium and lack access to light, making them susceptible to decay. Removing them reduces the risk of fungal infections and promotes energy allocation towards root development.
Creating a Clean, Angled Cut
A clean, angled cut at the base of the cutting facilitates root growth. The angled cut increases the surface area for root development, allowing the cutting to absorb water and nutrients more efficiently. It also prevents the cutting from sitting flat on the rooting medium, which could hinder root growth.
Propagating hanging plants from cuttings is a rewarding way to expand your collection. Before you get started, however, it’s essential to understand the nuances of watering these delicate plants. To ensure your cuttings thrive, familiarize yourself with the 5 Mistakes to Avoid When Watering Hanging Plants to prevent overwatering or underwatering.
Once you’ve mastered the art of watering, you’ll be well on your way to successfully rooting your hanging plant cuttings.
Rooting Hormones
Rooting hormones are plant growth regulators that stimulate root development in cuttings. They accelerate the process of root formation and improve the overall success rate of propagation. There are several types of rooting hormones available, each with its unique properties and applications.
Types of Rooting Hormones
- Powdered Hormones:These are typically applied directly to the cut end of the cutting, providing a concentrated dose of growth regulators. Powdered hormones are suitable for a wide range of plants and are readily available.
- Liquid Hormones:Liquid rooting hormones are diluted in water and applied to the cuttings by dipping or soaking. They offer a more controlled application and are particularly useful for delicate cuttings.
- Gel Hormones:Gel rooting hormones combine the benefits of powder and liquid formulations. They are applied by dipping the cut end of the cutting into the gel, which adheres to the surface and releases the hormones gradually.
Applying Rooting Hormone
Applying rooting hormone requires a delicate touch to avoid excessive application, which can hinder root growth.
Steps for Applying Rooting Hormone
- Prepare the Cutting:Remove the lower leaves and make a clean, angled cut at the base of the cutting.
- Apply Rooting Hormone:If using powdered hormone, dip the cut end of the cutting into the powder and tap off any excess. For liquid or gel hormones, dip the cut end into the solution or gel for a few seconds.
- Plant the Cutting:Insert the treated end of the cutting into the rooting medium, ensuring the cut is covered.
Important Note:Always follow the manufacturer’s instructions for the specific rooting hormone you are using. Excessive application can damage the cutting and inhibit root growth.
Taking cuttings from hanging plants is a great way to propagate new plants and enjoy their beauty in different areas of your home. Before you take cuttings, however, it’s important to ensure your plant is healthy and free of pests.
One essential step is to clean the leaves and stems, removing any dust that can hinder growth. You can learn how to effectively clean dust off your hanging plants by following the tips outlined in this helpful guide: How to Clean Dust Off Hanging Plants.
Once your plant is clean and healthy, you can confidently take cuttings and propagate new plants, expanding your indoor garden.
Rooting Methods for Hanging Plant Cuttings: How To Take Cuttings From Hanging Plants
Propagating hanging plants from cuttings is a rewarding and cost-effective way to expand your collection. Several methods can be used to root cuttings, each with its own advantages and disadvantages.
Water Propagation
Water propagation is a simple and popular method for rooting cuttings. It allows you to visually monitor root development and provides a humid environment that encourages root growth.To set up a water propagation system, you’ll need a clean container, such as a glass jar or vase.
Fill the container with fresh, clean water, ensuring the water level is high enough to cover the base of the cutting but not the leaves. Choose a container with a narrow opening to minimize water evaporation. Place the cuttings in the water, making sure the leaves are above the waterline.
Soil Propagation
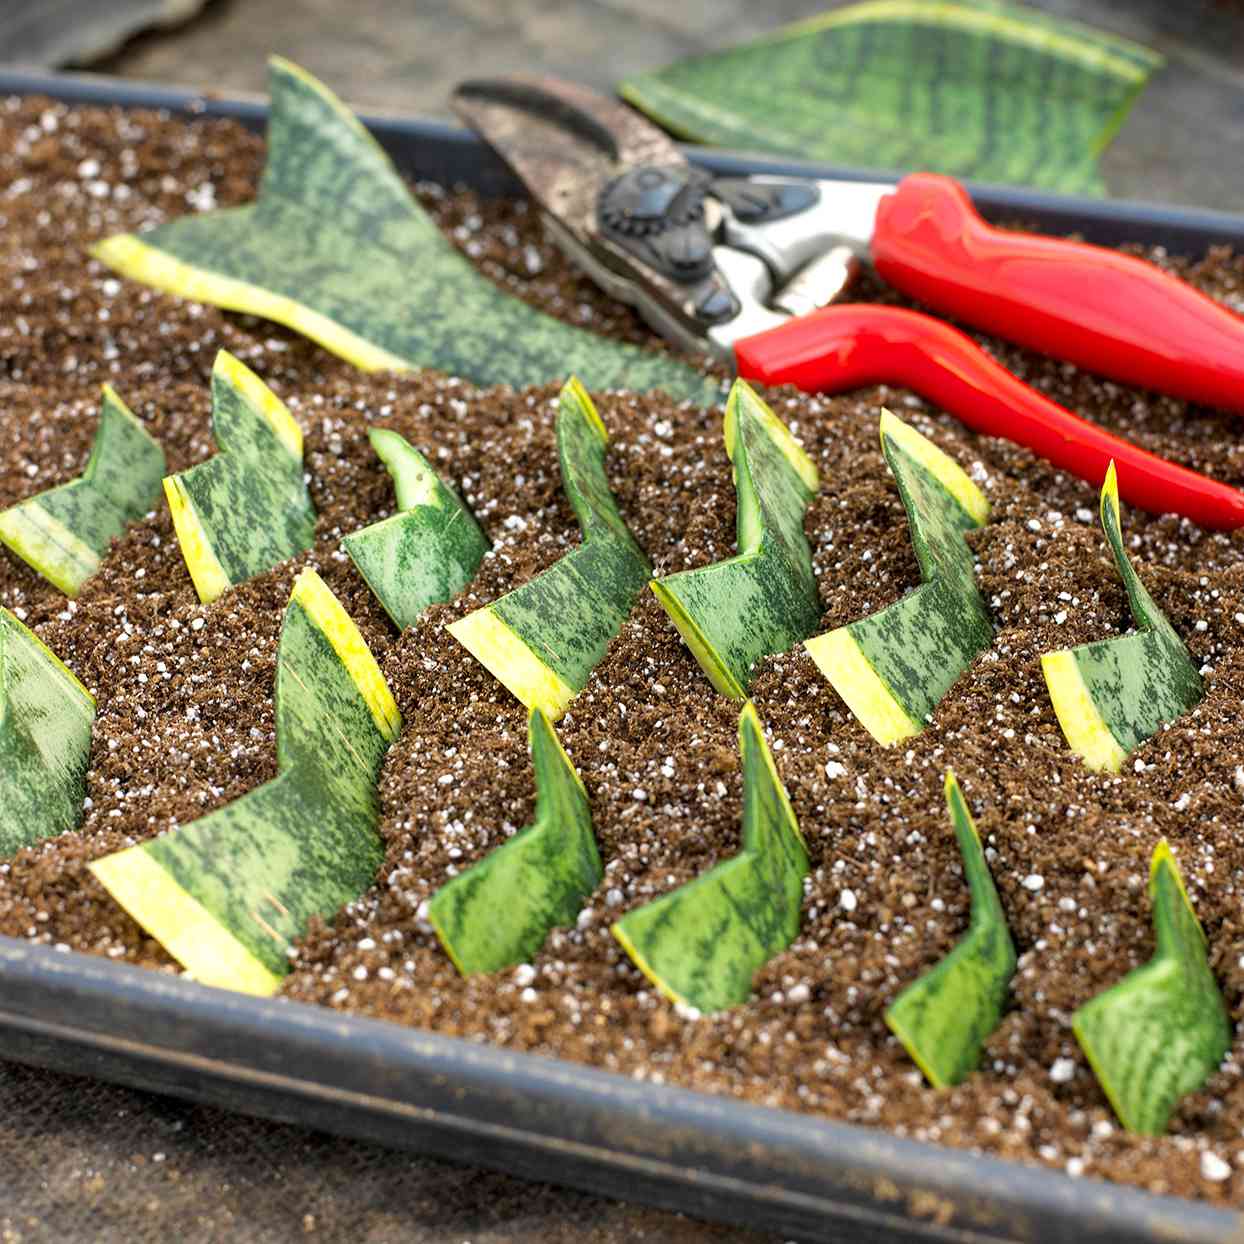
Soil propagation is a more traditional method for rooting cuttings, and it’s often preferred for plants that are more challenging to root in water. When using soil propagation, it’s crucial to select a suitable rooting medium. A well-draining mix, such as a combination of peat moss, perlite, and vermiculite, is ideal.
Fill a small pot or container with the rooting medium, leaving about an inch of space at the top. Make a small hole in the center of the medium and gently insert the cutting, ensuring the nodes are buried in the medium.
Air Layering
Air layering is a technique that encourages root development on a stem while it’s still attached to the parent plant. This method is particularly useful for plants that are difficult to root from cuttings or for plants that have thick, woody stems.
To air layer a hanging plant, select a healthy stem that’s about a year old. Using a sharp, clean knife, make a shallow wound on the stem, about an inch below a node. Apply rooting hormone to the wound and wrap it with sphagnum moss.
The moss should be kept moist at all times. Cover the moss with plastic wrap and secure it with tape.
Maintaining the Rooting Environment
Creating the right conditions for root development is crucial for the success of your hanging plant cuttings. Just like any plant, cuttings need the right combination of light, humidity, and temperature to thrive and develop a strong root system.
Light Requirements
Light is essential for photosynthesis, the process by which plants convert light energy into chemical energy for growth. While cuttings are rooting, they don’t need direct sunlight, which can dehydrate them. Instead, they require bright, indirect light. A south-facing window with a sheer curtain or a well-lit room with artificial grow lights can provide the ideal environment.
Humidity and Temperature
Cuttings thrive in humid environments, as it helps prevent them from drying out and allows for easier root development. A humidity dome or a plastic bag placed over the rooting container creates a micro-climate that traps moisture and increases humidity.
However, it is important to ensure adequate ventilation to prevent fungal growth. A temperature range of 65-75°F (18-24°C) is optimal for most hanging plant cuttings.
Maintaining Moisture Levels
The rooting medium should be kept consistently moist, but not soggy. Overwatering can lead to root rot, while under-watering can stunt root development. Check the moisture level by gently touching the soil. If it feels dry to the touch, it’s time to water.
When watering, ensure the water drains freely from the container, preventing waterlogging. For cuttings that are particularly prone to root rot, it’s a good idea to use a well-draining potting mix and to avoid overwatering.
Caring for Rooted Cuttings

After successfully rooting your hanging plant cuttings, it’s time to transition them into individual pots and nurture their growth. This crucial step ensures they thrive in their new environment and develop into healthy, lush hanging plants.
Transplanting Rooted Cuttings
Transplanting rooted cuttings into individual pots is a delicate process that requires careful handling to avoid damaging the fragile root system. Choose pots that are slightly larger than the root ball, allowing for ample space for growth.
- Select a well-draining potting mix that is specifically formulated for hanging plants. This type of mix typically contains a blend of peat moss, perlite, and vermiculite, providing excellent aeration and water retention.
- When planting, ensure the cutting is placed at the same depth it was in the rooting medium. This ensures that the roots are properly positioned for optimal growth.
- Gently firm the soil around the base of the cutting, but avoid compacting it too tightly. This allows for proper air circulation and prevents root suffocation.
Acclimatizing Rooted Cuttings
Once transplanted, it’s essential to acclimatize the cuttings to their new environment gradually. This process helps them adjust to the changes in light, temperature, and humidity.
- Start by placing the potted cuttings in a shaded area for a few days, gradually increasing the amount of direct sunlight they receive over the next week. This prevents the delicate leaves from scorching under intense sunlight.
- Monitor the soil moisture and adjust watering accordingly. The frequency of watering will depend on the specific plant species, the type of potting mix used, and the environmental conditions. Aim for consistent moisture without overwatering, as this can lead to root rot.
Maintaining the Health and Growth of Rooted Hanging Plants, How to Take Cuttings from Hanging Plants
Once the cuttings have acclimatized, it’s time to provide them with the proper care to ensure they thrive.
- Water consistently, allowing the top inch of soil to dry out between waterings. This prevents overwatering, which can lead to root problems.
- Fertilize regularly during the growing season using a balanced liquid fertilizer diluted to half strength. This provides essential nutrients to support healthy growth and lush foliage.
- Monitor for pests and diseases. Inspect the plants regularly for signs of infestation or disease. Treat any issues promptly using appropriate methods to prevent them from spreading.
Last Point
By following these steps, you’ll be well on your way to expanding your collection of hanging plants through cuttings. Remember, patience is key, and with a little care and attention, you’ll be rewarded with a thriving new generation of cascading foliage.
Commonly Asked Questions
Can I take cuttings from any hanging plant?
While many hanging plants are suitable for propagation through cuttings, some species root more easily than others. Research the specific plant you’re interested in to determine its rooting potential.
What is the best time of year to take cuttings?
The ideal time to take cuttings is during the plant’s active growth period, typically in spring or summer. However, some plants can be propagated year-round.
How long does it take for cuttings to root?
Rooting time varies depending on the plant species and the rooting method used. Some plants may root within a few weeks, while others may take several months.
What should I do if my cuttings don’t root?
Don’t give up! If your cuttings don’t root initially, try adjusting the rooting environment or using a different rooting method. You can also try taking cuttings from a different part of the plant.
